The outer skin of a C-130 Hercules forms an important part of the aircraft’s structure, meaning damage identified during maintenance inspections is more than a cosmetic concern. Left unaddressed, defects can worsen over time and potentially affect structural integrity, so damaged areas must be carefully assessed and either repaired or replaced.
Although an aircraft's aluminium skin can appear surprisingly thin once removed, it is designed to work together with the frames, stringers and other supporting structure beneath it. Once securely fastened in place, the panel becomes part of the aircraft’s load-bearing structure.
The video below shows a full skin panel replacement being carried out on Fat Albert, the US Navy Blue Angels’ C-130J support aircraft, during its maintenance at Marshall Aerospace in Cambridge.
Removing the damaged panel
Common defects found on aircraft skin panels include deep scratches, chips and dents, sometimes caused by debris being swept up by the aircraft’s propellers.
Depending on the location and severity of the damage, some defects can be repaired locally using patches. In this case, however, the affected panels needed to be removed and replaced completely.
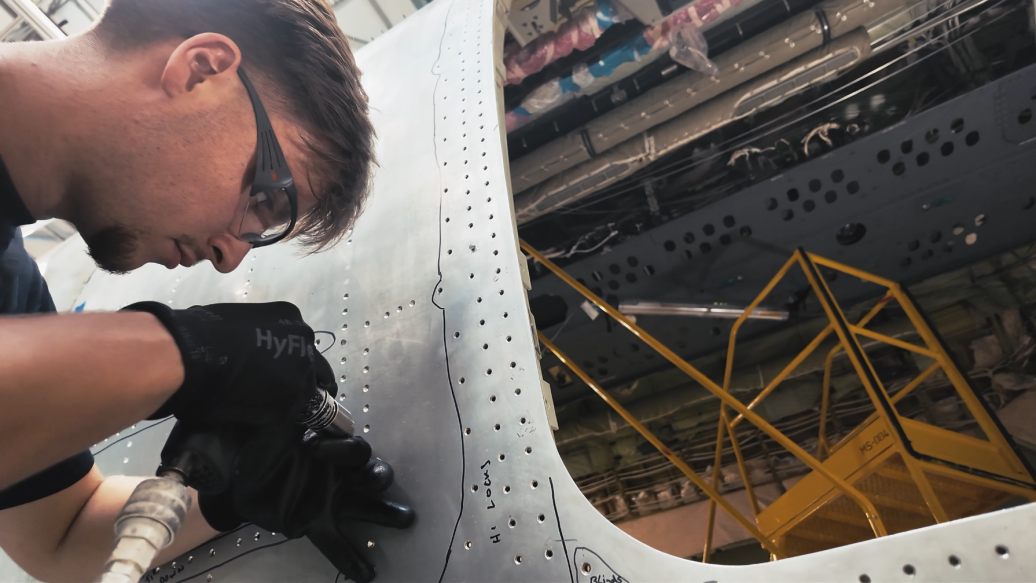
Removing a skin panel is a painstaking process. Thousands of rivets and structural fasteners, including Hi-Loks, secure the panel to the aircraft structure beneath. Technicians must drill out or unbolt each fixing individually while taking care not to damage the surrounding structure.
Once the fasteners have been removed, the sealant between the panel and the aircraft structure is carefully scraped away. Specialised spacers are then progressively inserted to separate the two surfaces, allowing the panel to be released from the fuselage and removed.
The original panel is retained and used as a template for its replacement.
Preparing the replacement
With the skin removed, technicians can thoroughly inspect the normally concealed structure beneath it, checking the aircraft frame for any additional signs of damage before the new panel is fitted.
The original panel is then used to reproduce the exact pattern of fastener holes required in its replacement. Each hole is "copy-drilled" through the new panel to ensure it aligns precisely with the existing aircraft structure.
The quality and positioning of each hole matters, as imperfections introduced during drilling can create local stress concentrations and affect the fatigue performance of the structure over time.
Where required, the holes are also countersunk, creating a shaped recess that allows the appropriate fasteners to sit correctly against the aircraft surface.
Installing the new skin
Once preparation and inspection are complete, fresh sealant is applied to the aircraft structure and the replacement panel is carefully positioned. Wedge locks hold it securely in place and maintain alignment while installation begins.
Technicians can then start fitting the thousands of rivets and other fasteners needed to permanently secure the panel to the aircraft.
One of the biggest challenges is access. In some areas, technicians must work within extremely confined spaces to reach the opposite side of the panel, with limited room for conventional tools and equipment. Specialist tooling and appropriate protective equipment allow the team to complete the work safely and accurately.
With the final fasteners installed, the replacement panel once again becomes an integral part of the aircraft’s structure, restoring its integrity and allowing the C-130 to progress through its maintenance programme.